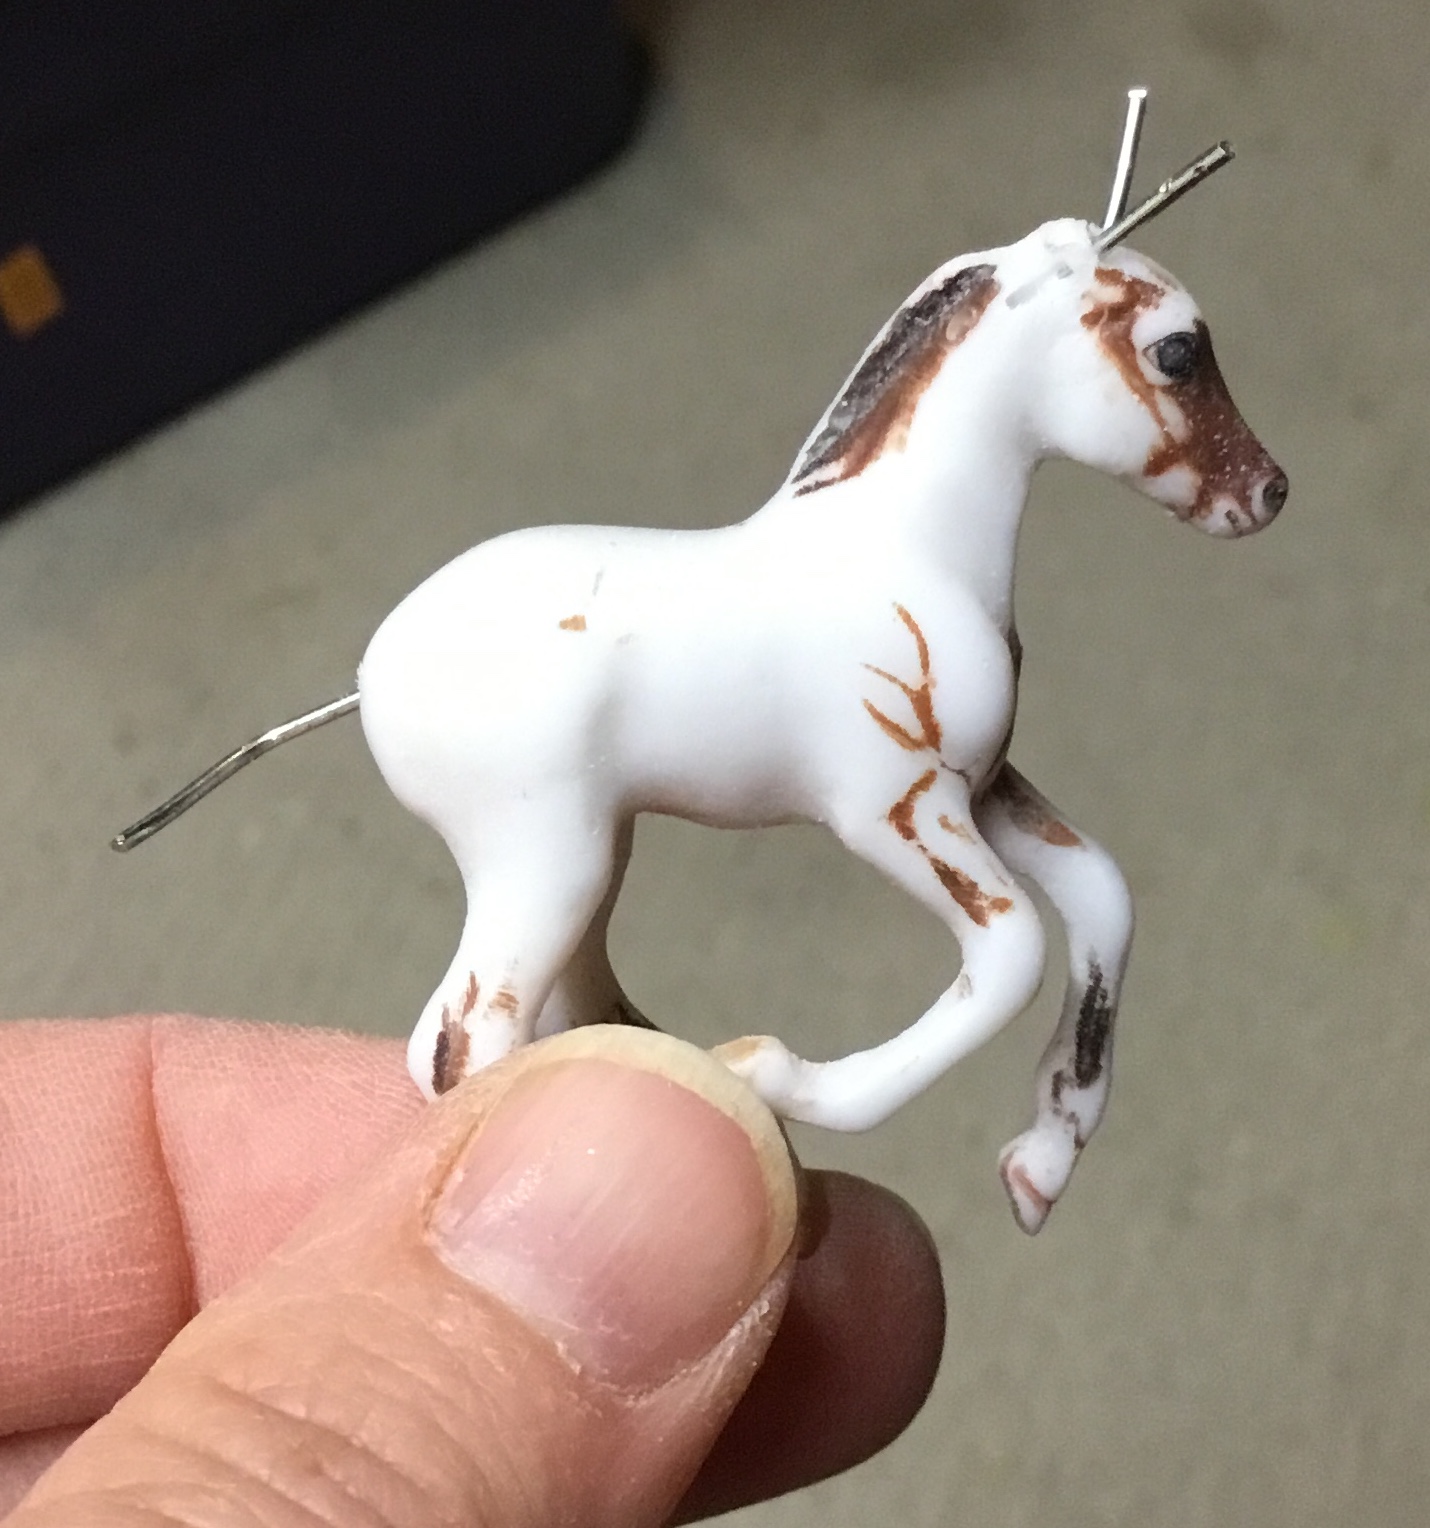
Hello and happy summer! I chose not to go to Breyerfest this year, so I’m home working on more custom minis for my show string and sales list. I’ve got a variety of models in progress and they all need a little structure for one reason or another: a forelock that will be free from the face, new ears, tailbones, tail swaps, a mane swap, a peg for a base, and my least favorite—repairing a leg. For these situations, I’m using paper clips!
 |
| Paperclip for a forelock |
 |
| New ears and tail |
 |
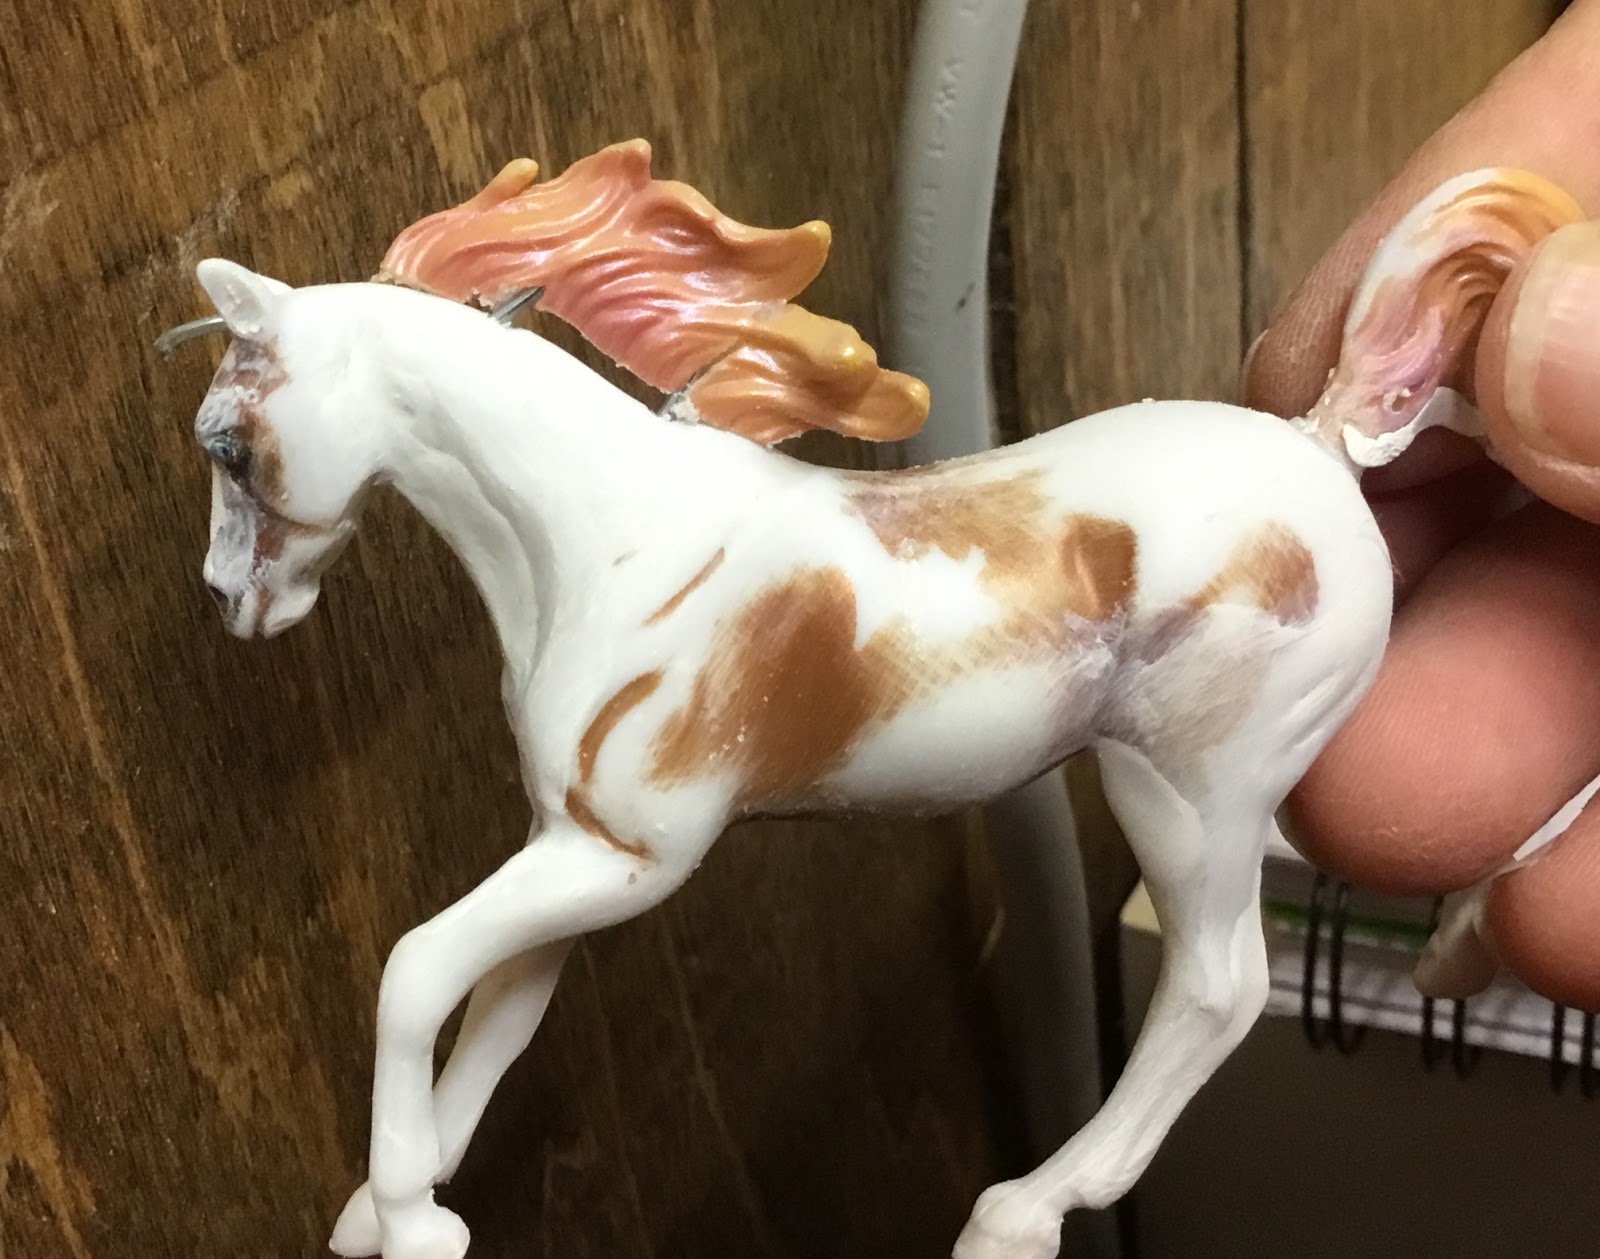
| Mane swap |
 |
| Tail swap with two pins |
 |
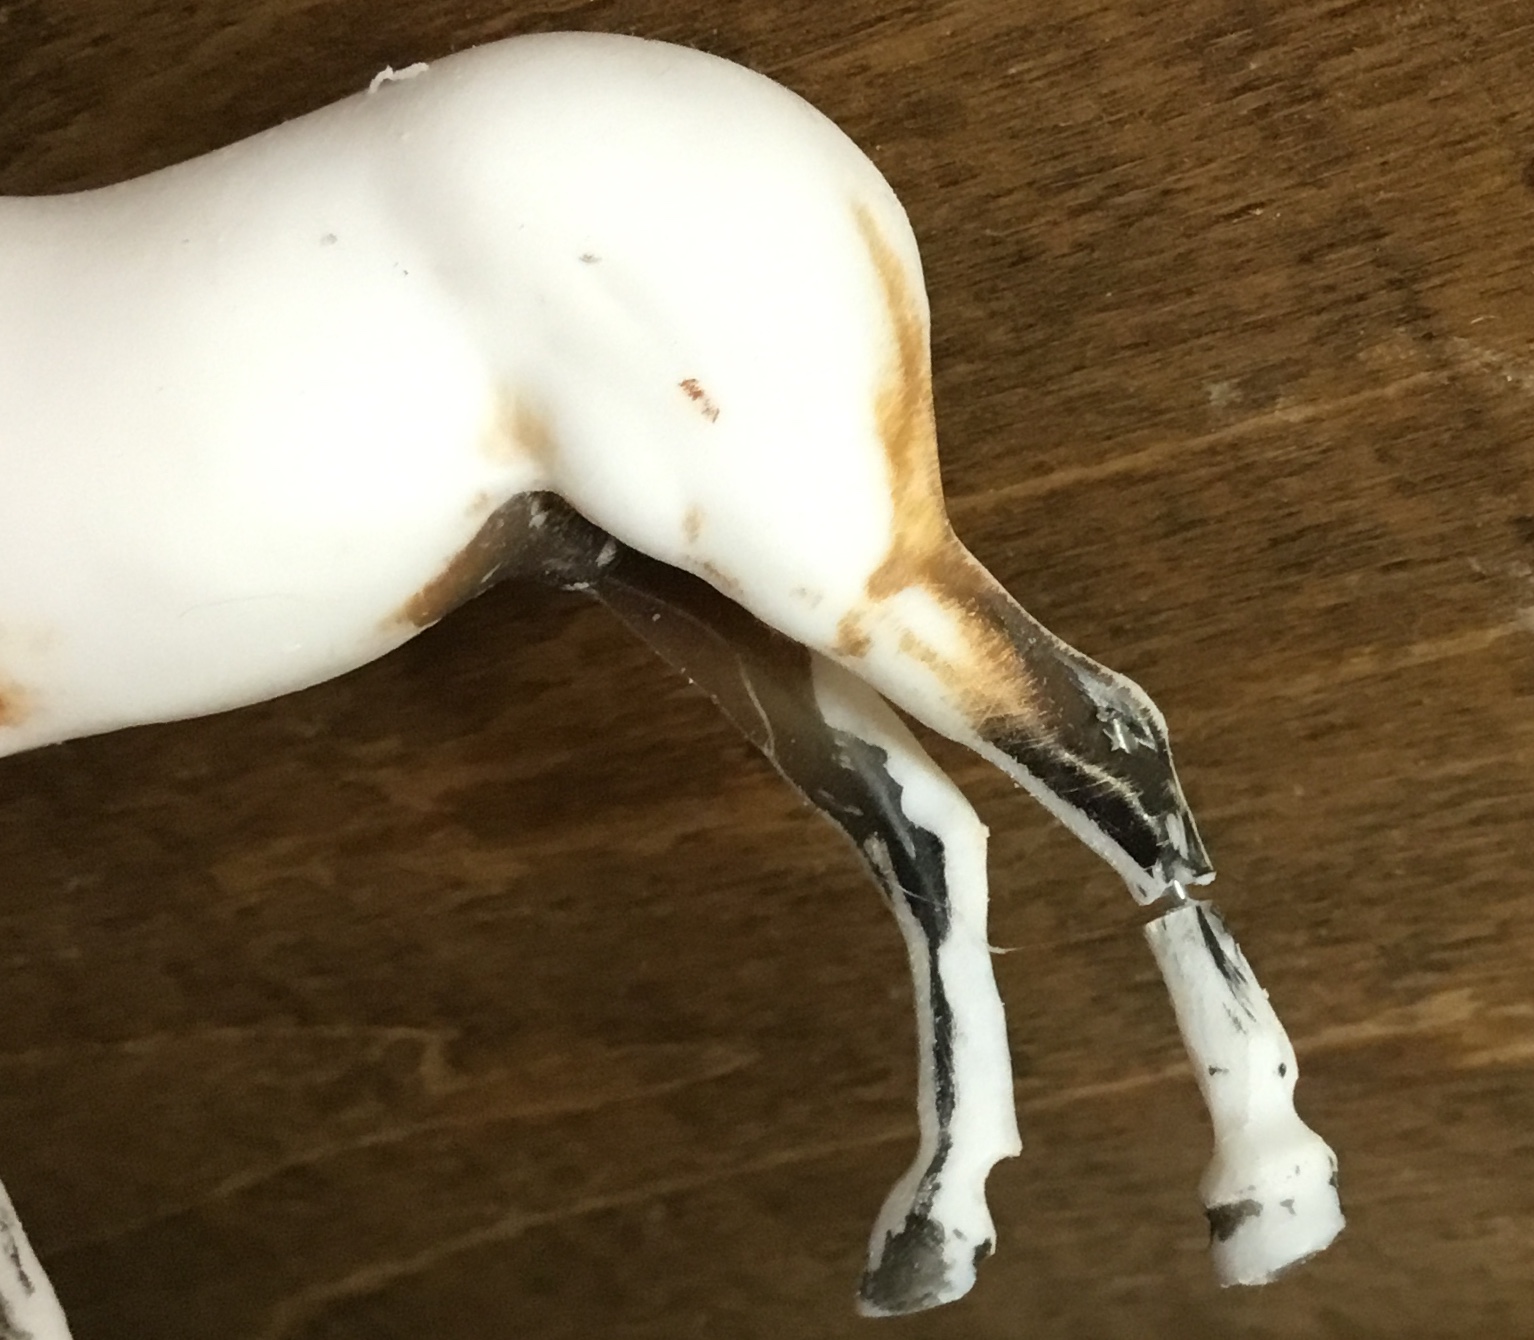
| fixing a broken leg |
 |
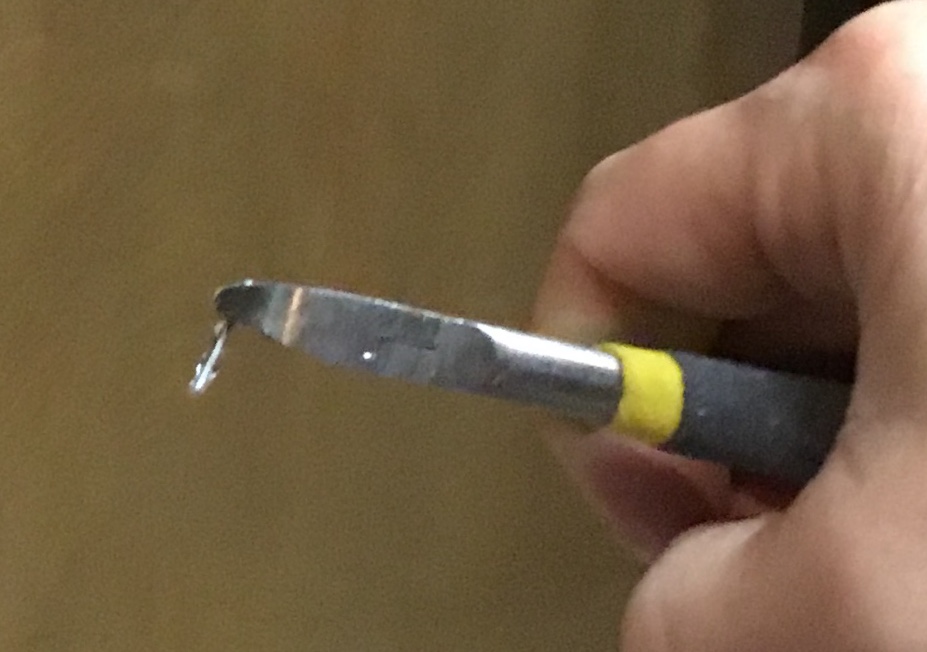
| Paperclip and small drill bit |
First, I found a drill bit that was the same size as the small-sized paperclips. I’m using a Drexel tool, but keep in mind that a drill or hand-drill would also work. The big thing here is to hold/secure your models in a safe way so you don’t drill your fingers (ouch!). Wrapping the model in a towel and placing it in a small vice is a good choice.
Second I drilled the holes, often cleaning the plastic off the drill bit in between. To do this I heated the plastic with my embossing tool/heat gun and then eased it off with an Exacto knife. (Careful not to touch hot things like the drill bit and to work pointing away from myself.)
 |
| Plastic melted onto drill bit needs to be cleaned up. |
Third, I tested all the holes and the way the pieces of mane or tail fit together. With a pair of wire cutters or needlenose pliers, I cut the clips to size. Safety glasses are great for this step in case bits of wire fly away. For a tailbone or ears, I save the exact sizing/trimming for later.
Then broke out my super glue. I’m using the gel kind because I am a bit clumsy with drips. The gel doesn’t drip like the liquid. I apply it to the hole and to one end of the paperclip. I like to use the pliers here to keep my fingers out of the glue. Sometimes I need them to force the clip into the hole.
 |
| When using gel superglue, I hold the wire with pliers. |
Lastly, I’ve attached all the pieces. I like to let them sit for an hour or more before touching them. Superglue fingers are not fun. When they dry they’ll be ready for epoxy.


Comments
Post a Comment