
Hooves on the Table Please (Part 2)

Ahh, models whose hooves are supposed to be flat on the table... I talked about how I like my models to stand well in a previous post--using a table-height view and sandpaper. But then I looked closer at a few works in progress and found a model or two where I used different techniques.

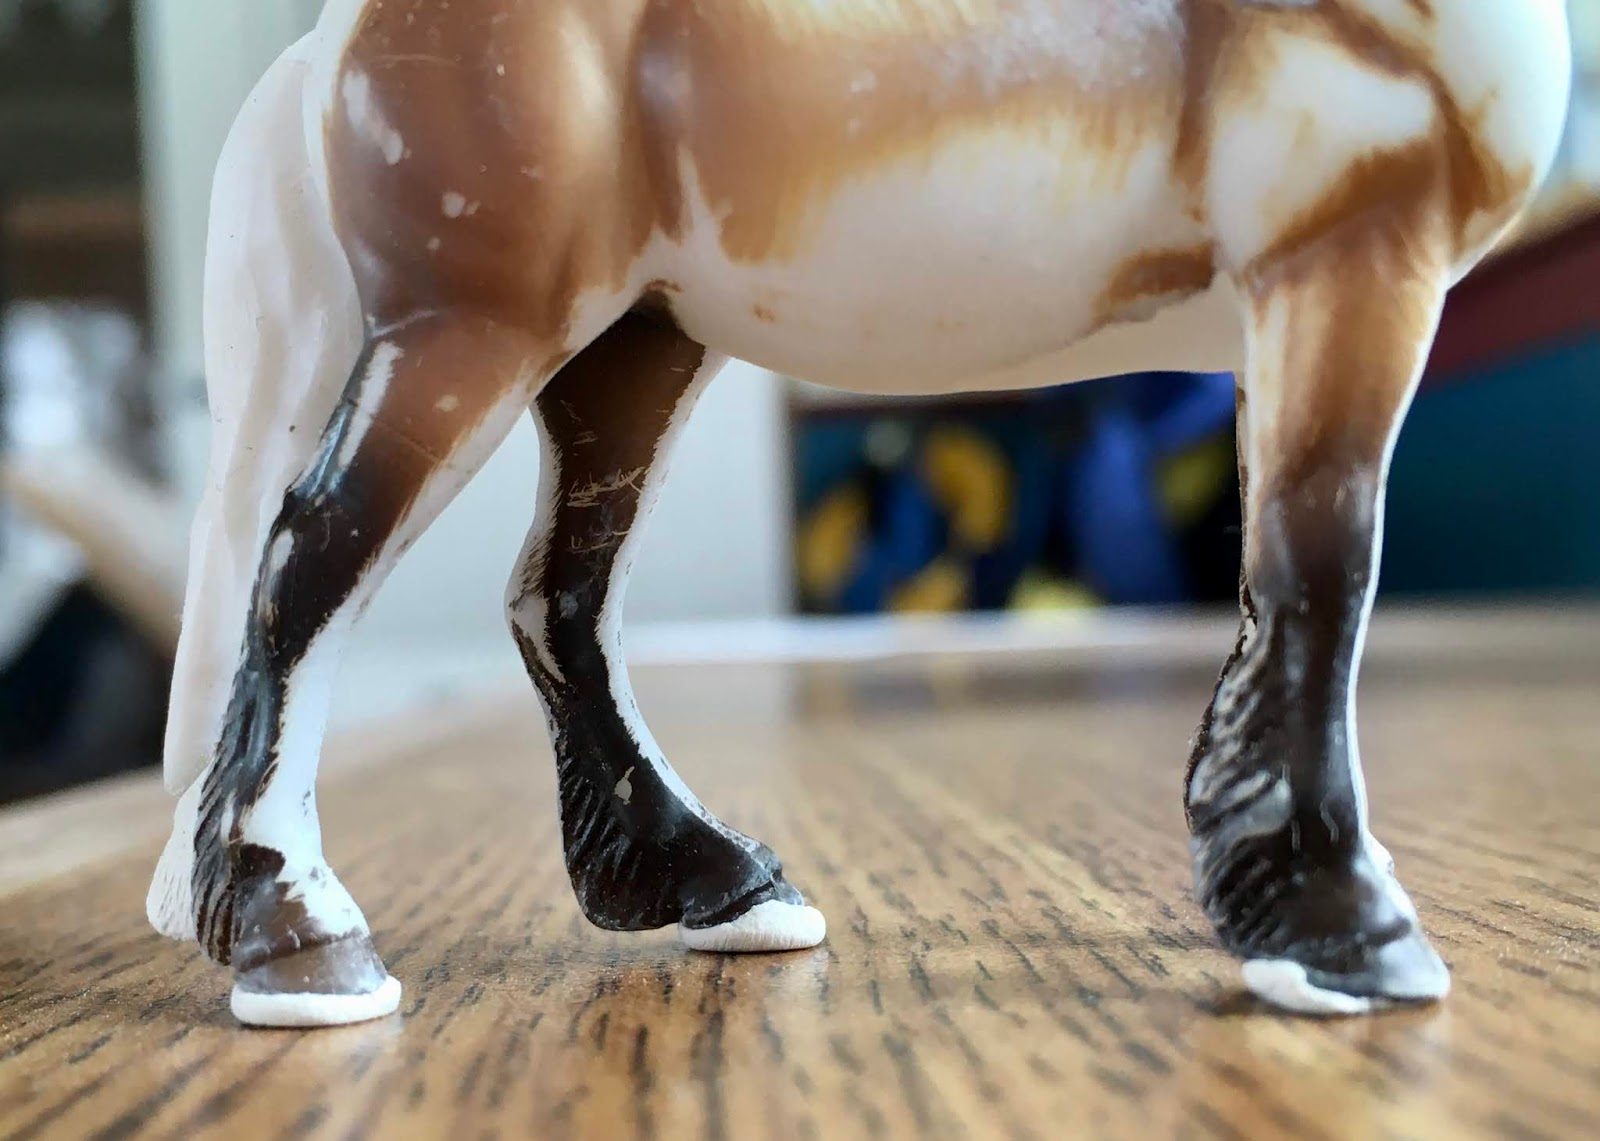
The first model that came up was the Breyer standing pony. She has four tiny hooves that try to touch the table, but depending on the model, they don't always succeed. Part of this is physics. A three-legged stool will be stable, whereas a four-legged one will wobble. Another issue the pony has is that her toes can be a little rounded over.

Breyer Stablemate Highland Pony Hooves
I didn't want to use my sandpaper technique on this model because I didn't want to lose too much hoof in the process. (And this model's feet are carved out, which gives them a little space to add epoxy.)

So I added a small ball of epoxy to each foot. Then I placed her on a flat surface. I use old gift cards, but a scrap of paper or saran-wrap on a desk works well too. (Just don't stick the model to the furniture!)


Epoxy balls squish out around feet.

When the epoxy is cured, it'll need to be shaped. Dremel tools, emery boards, and sanding sticks all work great.

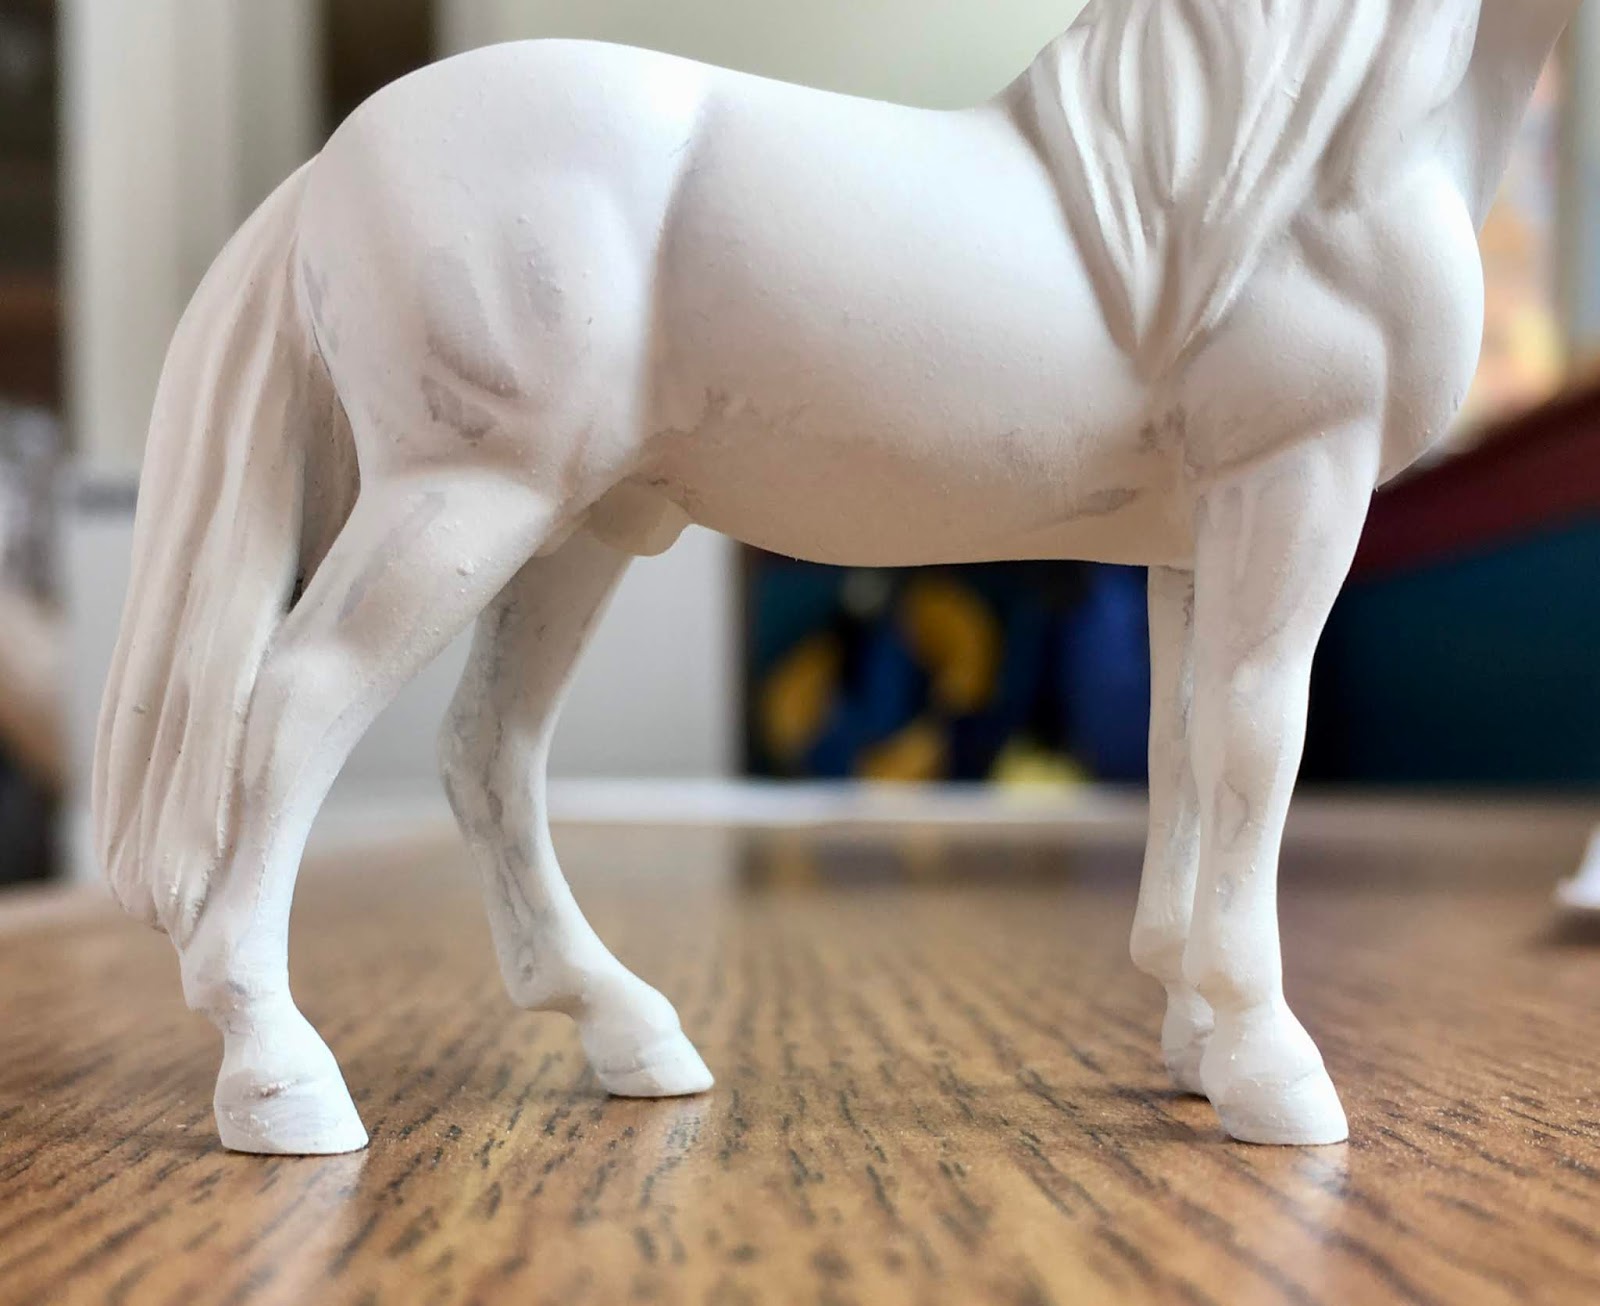
Here is a pony custom that is standing a little bit better.
I would say that a downside of this technique is that the carved feet are filled in. In addition, carving out the frog and sole on this model may be delicate work. However, I am in favor of a model that looks good standing up in the ring even if it lacks details when lying on its side... because that means it tipped over!

Another model on my desk that didn't stand square was the Gypsy Vanner mold. This particular model actually looked better with both front feet off the table. So I added a clear acrylic rod.

This model's legs were not moved. Only the acrylic rod was added. With a little more work, I think he'll stand well.
One of my books, Foals: Horse Images for Artists' Reference and Inspiration (amazon.com/Foals-Images-Artists-Reference-Inspiration/dp/1530401402), has many photos of foals playing in the pasture--often with gusto! To capture this feel, I added a pin to this model.

Pin in hoof of Breyer Stablemate foal.
Here the other legs have been modified slightly to accommodate the raised hoof. I used a sewing pin with both the head and point carefully trimmed off. (Please wear protective eye wear if trying this at home.) The pin is thinner than the acrylic rod. I chose the pin over the rod because of the tiny foal-sized foot.

Both the rod and pin are inserted into a hole drilled into the hoof. They are super-glued in place. I leave them a little long at first, and shorten as I work. Looking at the photos, I think I might go a hair shorter on both so my models stand better.


Comments

Popular Posts

New Pan Pastels - An Update

A little while back I posted a photo of my new Pan Pastel colors. I've gotten a chance to use them, and have found them quite handy.      First, these colors are all useful—which is not something I say about many of the Pan Pastel colors because they are not all well suited for horses. The orange shade looks a little odd at first, but once it's part of the coat it softens to a nice, bright addition to chestnuts, palominos, buckskins and bays. I think of is as more of a golden tone than orange when the model is finished.      Second, they are easy to use—no sandpaper palette needed, no huge-jar-o-dust waiting to spill. The pans work with both paintbrushes and Microbrush applicators for small details like leg bars and dorsal stripes.     Third, the colors work well together and blend well. For example, on this model I used the Burnt Sienna Extra Dark to deepen a few areas I had dusted with the Burnt Sienna Shade. So... these new Pan Pastel colors definitely have a plac

A Golden bay in Pan Pastels

I thought I'd share a bit of my process. I'm working in Pan Pastels. The model in question is a simple custom Morgan Stallion from the new standing Stablemate Warmblood mold. He has had some work done on his barrel and hindquarters. His mane and tail have been changed as well.  I prepped him with Rustoleum 2X primer in white and taped off some white markings with blue painters tape. Feel free to follow along and paint your own golden bay or liver chestnut.  A Pan Pastel Project Art Supplies Shopping list: A model with sanded seams and logo removed 400 Grit Sandpaper Masking or painters tape (optional) Rustolem 2X Primer Pan Pastels: 280.3 Orange Shade, 820.2 Neutral Grey Extra Dark (or other neutral grey), Layer 3: 740.3 Burnt Sienna Shade, 740.1 Burnt Sienna Extra Dark, 800.5 Black. Pan Pastel optional colors for shading mane, tail, and white markings: Optional fleshy pink pastel or paint for a pink nose or shading white markings. Krylon Matte, Testor's Dullcote, or other

(Almost) Wordless Wednesday Percheron and Clydesdale Comparison

I've been thinking about customizing some draft horses... so I went out to the pasture to do a little research. Please pardon the dirt. Pete, on the left, is a Percheron gelding. Titan, his best buddy, is a bay roan Clydesdale gelding. Pete has more width and bulk, while Titan is leggier and more narrow. Here I even noticed the difference in their faces—see the how the distance between their eyes are different, as well as from eye to nostril. Titan's tail is naturally long, whereas Pete's has been docked. Notice the different shaped hindquarters. A custom mini model horse inspired by Pete